Aluminum Handrail Install Demo Video
Watch this short video for instructions on installing aluminum handrail to Signature series posts.
How difficult is this project?
This project is: INTERMEDIATE - ADVANCED
The process of installing aluminum handrail on Signature series posts requires careful measurement and attention to detail. Most handrail layouts are straight-forward, but advanced skills may be required for complex handrail joints.
Nothing says modern elegance like Signature series posts and matching reinforced aluminum handrail. Designed to meet IRC standards for graspability, aluminum handrail requires minimal maintenance, and the slim profile offers a cleaner, clearer view. Handrail is available in 93" sections that piece together with structural splines, allowing for longer, continuous spans.
Continue reading or download the installation instructions:
Does your project include stairs?
Check out the guide below for handrail design recommendations on stair runs. Consider your project specifications and post layout before starting your installation.
Please note: The Signature series line post modern top can accommodate stairs with a pitch/slope up to 38-degrees.
Stair Rail Design PDF>
Materials List
Supplies:
- Reinforced aluminum handrail
- Handrail end caps
- Handrail mounting screws
- Splines
- Spline screws (#8 x 3/4" sheet metal screws—included with splines)
- Painter's tape
- Metal file
- Touch-up paint aerosol (optional)
Tools:
- Drill/impact driver (with 5/32" bit)
- T20 x 3-1/2" Star Drive Power Bit
- Screwdriver
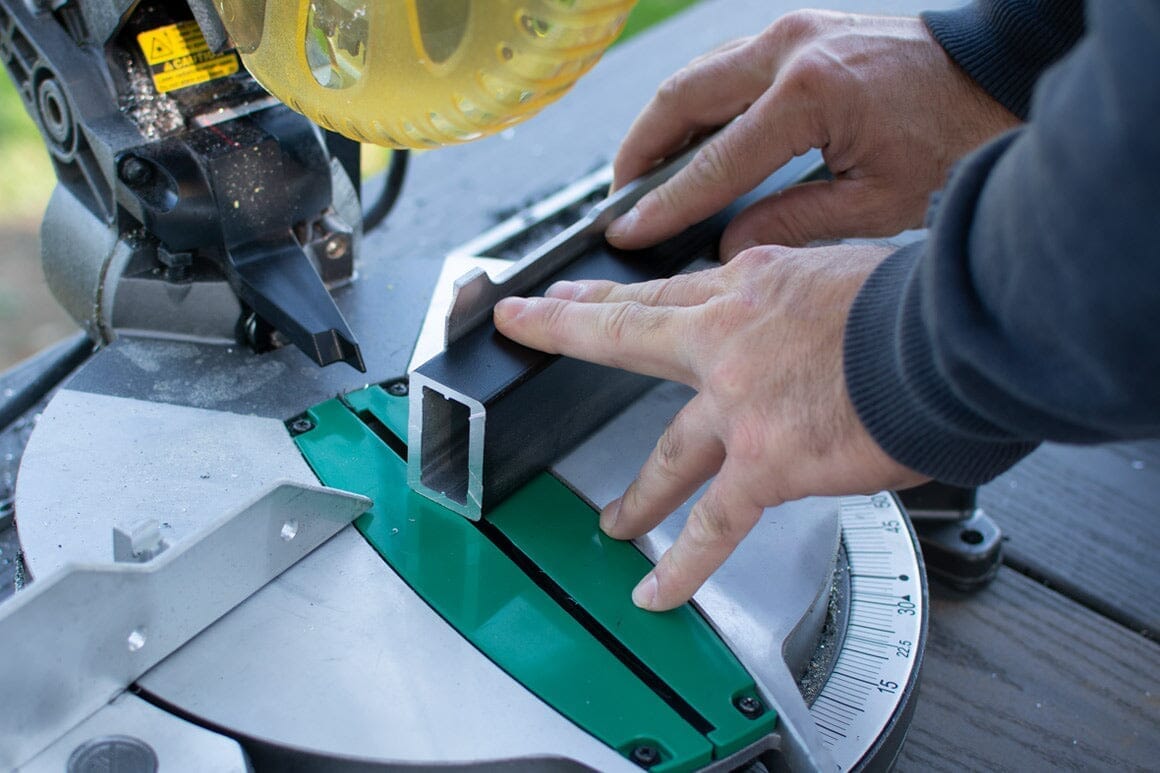
- Miter saw with non-ferrous metal cutting blade
- Tape measure
- 3/16" Allen wrench
- 1/8" Allen wrench
- Angle finder (angled runs)
- Mallet (setting fixed corner splines in place)
- T-bevel (setting the angle of adjustable splines)
Installation Instructions
PLEASE NOTE: All Cable Bullet recommendations and rail components are designed to comply with the International Residential Code (IRC). However, because building codes may vary it is the installer's responsibility to verify that the installed system complies with all applicable state and local building codes.
For more information on Cable Bullet and building code standards, visit out terms page.
1 | Cut Handrail Pieces
Use a miter saw and non-ferrous metal cutting blade for any custom cut length.
PRO TIP: Use painter's tape when cutting through powder-coated handrail to minimize chipping.
Before joining your cut sections of handrail, file away any burrs. A clean channel will allow for a cleaner joint.
PRO TIP: Before removing the painter's tape, spray your ends with touch-up spray to cover any blemishes.
2 | Join Level Straight Runs
Piece together longer, level handrail sections using structural fixed straight splines (A). Splines are tapered and will tighten up as they are inserted into the spline. NOTE: Structural fixed splines do not need to be supported over a post!
3 | Join Level Corner Runs
Use Delrin fixed corner splines (B) for all 90-degree turns. Set in place using a mallet. If necessary, use a file on the spline to ease installation.
4 | Adjustable Splines for Angled Joints
Use adjustable splines C, D, E, F at your angled transition joints. Set the angle of your adjustable spline with a T-bevel and lock it in place with a 3/16” Allen wrench.
Handrail Bevel Cuts
Use an angle finder to determine the pitch of your stairs and make the appropriate bevel cut for your handrail.
- Adjustable straight spline C
- Adjustable vertical corner spline D
- Adjustable horizontal corner spline E
- Adjustable 180-degree spline F
5 | Securing Splines & Handrail
Fasten the spline to the handrail, one piece at time to allow for minor adjustments. First, drill a countersink for a #8 x 3/4” stainless steel star drive screw.
Use a 5/32” bit to drill the pilot hole. To avoid stripping or breaking the screw, use a socket screwdriver with the T20 star drive power bit to set the screw.
6 | Mounting Handrail to Modern Post Tops
Loosen the set screw that secures the top collar F to the center pin G. Attach the adhesive disk to the top collar. Place your handrail on top, press down firmly and remove the handrail and top collar together.
Drill 5/32” pilot holes. Use 4 handrail mounting screws to secure the top collar to the handrail. To avoid stripping or breaking screws, use a socket screwdriver. Reassemble and lock in place.
7 | Install you Cables
Your railing is now ready for cable infill. Complete this process following How to Install Cable Rail Tensioners in Metal Posts.