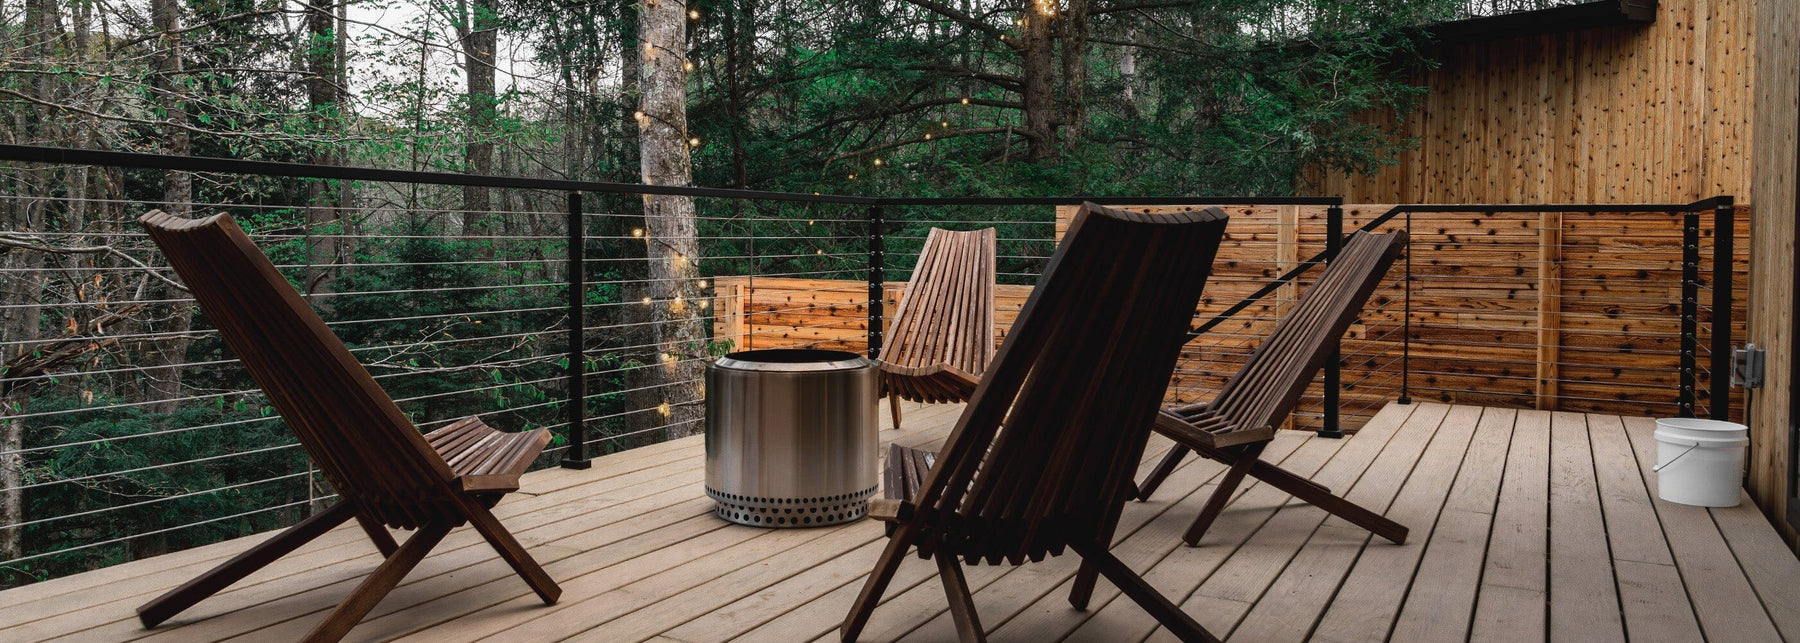
How to Install Deck Cable Railing
Touted for its sleek, minimalistic look, durability, and enhanced safety for residential and commercial properties alike, cable railing is the Holy Grail for many homeowners and project managers.
Unlike glass railings that can splotch and crack or high-maintenance wood picket railings that can warp and rot over time, cable railing is low-maintenance and long-lasting. Installing cable railing on decks is easy for DIYers of all stripes, saving you from shelling out money on a contractor.
Ready to spearhead your deck cable railing project? Weāll cover how to install cable railing on a deck, giving you a step-by-step breakdown of the process. Weāll even leave you with our maintenance tips to keep your cable railing in top condition for years to come.
Preparing for Installation
Diving into your deck railing installation project fully prepared will make the process run smoothly and help you avoid preventable installation hiccups, saving you time and frustration.
Tools and Materials Needed
First up, is sourcing and laying out the tools and materials you need for a successful deck railing installation. No doubt, youāll likely already have some tools on hand, while others you may need to borrow or purchase.Ā
As for your materials, the easiest and most affordable way to source them is to submit your preferred system and deck'sĀ specifications for a materials estimateāreceive aĀ detailed layout and pre-built cart that includes all ofĀ the materials you need for your project.
Tools
- Level
- Tape measure
- Miter saw
- Drill with a 3/16ā drill bit to create the pilot holes for your mounting screws and a 5/32ā drill bit for handrail installation.
- Cable cutters
- Cable crimper
- 3/16ā Allen wrenchĀ for your post-leveling screws
- T30 Star Drive Power Bit necessary for your post-mounting screws
- Speed square for marking angles if you need to cut your handrail
- 3/32" Allen wrench for tensioning your cables
Materials
The materials youāll need depend on the type of cable railing system you choose and if you already have custom posts and handrails in place. Letās assume youāre building a new aluminum cable railing systemĀ from scratch.
- Columns/posts: Youāll need aluminum terminal/end posts and line posts for your project.Ā The quantity of each type will depend on your deckās size, shape, and layout.
- Hand railings & End Caps: If you plan to useĀ aluminum handrails, ensure they meet IRC guidelines. Youāll also need end caps for a sleek finishing touch.
- Cable: Order a spool of stainless-steel cable.
- Splines: Internal splines for straight cable runs or joining corners will give your handrail a seamless look.
- Tensioning Mechanisms: Your tensioning mechanisms will hold your cables in place, keeping them safe and secure.
- Rust & Corrosion Protection: Preserve the stainless steel components of your cable railing system with rust and corrosion protection.
Optional Tools & Materials
- Handrail Clamps for easier, error-free installation.
- Painterās tape to mark the placement of your columns/posts, as well as for gauging depth of drilling, or for visibility when marking handrail for cuts.
- Shims or leveling plates for leveling your posts.
- Cable spacer bars can make your cable run longer and give you additional cable support, allowing you to use fewer structural posts (for a more open view).
- Spare parts will keep your deck railing installation project moving forward in case of any hiccups.
Measuring and Planning

Every DIYer knows that the more accurate and thorough your measurements and planning, the more money youāll save by not wasting materials or time.
Ready to roll up your sleeves? Grab a tape measure and a pen and paper (or a device to jot down your measurements). Map out a rough (but legible) sketch of your deck. Donāt worry ā thereās no need to be a DaVinci of Deck Measuring here.Ā
Then, measure your deckās perimeter, making note of the length of each side from end to end, labeling your sketch with the measurements you take as you go.
Next is deciding how to lay out your cable railing system. Starting by choosing the placement and spacing between your posts.Ā
Tips for Placing & Spacing Your Posts
- Use graph paper or a digital drawing tool to sketch out your placement and spacing preferences. Or, work with an expert team of cable railing gurus who can plan your cable railing project.
- The layout of your deck, including all turns, transitions, and stairs, will influence where you place and how you space your posts.
- You can space your end posts up to 20ā apart. For longer spans, youāll need to use two-way posts.
- Use line postsĀ and spacer bars between tensioning posts on runs longer than 4 feet. A good guideline is to follow the 20 | 8 | 4 systemāhandrail support (line posts) is needed every 8 feet. Cable support (either a line post or spacer bar) should be placed at least every 42 inches to prevent cable deflection.
- Structural blocking is essential. If youāre working with a wooden deck, 3.5ā is required.
- Start at your transition spaces to ensure the rest of your posts will line up in your layout.
- The shape and size of your deck will dictate the number of end posts, two-way posts, corner posts, and passthrough/line posts.
Safety Precautions
As with any DIY project, safety comes first! Since youāll be using power tools, handling materials, and dealing with dust and debris, wearing the right protective gear and following all safety guidelines is essential for a smooth (and injury-free) deck cable railing installation.Ā
Keep these safety tips in mind as you begin your deck railing installation:
- Always read all product instructions and safety warnings.
- Wear safety goggles or a face shield when operating your drillĀ or saw.
- Ensure your drill bits are in good condition and secured properly before use.
- Keep your workspace free of clutter and debris to prevent tripping, etc.
- Assess your physical and mental state throughout the installation process. Taking regular breaks and staying hydrated will keep you focused and efficient.
Step-by-Step Deck-Railing Installation Guide
The steps youāll need to follow for your deck railing installation depend on the materials youāre using, the complexity of your deck design, and more. For this installation guide, weāll follow the steps necessary to install Cable Bulletās Signature Classic aluminum cable railing system on your deck.
Our step-by-step guide will walk you through each phase, from installing your end posts and line posts to setting your cable tensioning mechanisms and cable and then tensioning the cable safely.
1. Installing the Posts
The first phase of deck cable railing installation is all about making sure your posts are properly in place. You can do that by following these four simple steps.
- Step 1: Once youāve settled on the location of your posts, assess your blocking, making sure thereās enough to anchor each of yourĀ aluminum posts.Ā
- Step 2: Next, mark the location for the structural screws and then use your drill to make the pilot holes.Ā
- Step 3: Place your mounting screws without tightening them all the way.
- Step 4: To plumb your aluminumĀ posts, use your 3/16ā Allen Wrench to advance each of your leveling set screws. Now youāre ready to tighten down the screws.
2. Attaching theĀ Handrail and Cable

With your posts in place, itās time to install yourĀ aluminumĀ handrail (aka, top rail).Ā
- Step 1:Ā Cut your handrail and assemble your splines.
- Step 2:Ā Secure all post tops on the handrail.
- Step 3:Ā Secure your handrail to your posts using the post top set screw.
- Step 4:Ā Screw tensioners into your end posts.
- Step 5:Ā Cut your cable to the length between tensioning posts, leaving a few extra inches on each end for adjustment.
- Step 6:Ā Slide a lobed washer and crimp sleeve onto one end of your cableāuse the cable crimper to crimp the sleeve.
- Step 7:Ā Fit the crimped end into the tensionerāsecure it in place using the set screw.
- Step 8:Ā Run the uncrimped end of your cable through all line posts and spacer bars.
- Step 9:Ā Cut the uncrimped end of your cable an inch past the face of the tensioning post.
- Step 10:Ā Repeat stepsĀ 5ā6Ā on the uncrimped end of your cable
- Step 11:Ā Repeat stepsĀ 4ā9Ā on all of your cable runs.
3. Tensioning the Cables
Now youāre ready to tighten up that cable slack. Not only is taut cable essential for a clean and sleek aesthetic, but itās critical for the safety of your cable railing system.
With Cable Bulletās tensioning mechanisms in place, all tensioning happens internally.Ā
Here, youāll need your 3/32ā Allen wrench to advance the set screw and tension the cables. Work from theĀ center cables to the outer cables as you go.Ā Ā
Be careful not to over-tighten your cables so that you can avoid experiencing deflection in your posts.
Finishing Touches
Youāve finished tensioning the last cable run, and now youāre ready to enjoy the view of your labor. Before inviting family and friends for a deck party, youāll need to wrap up a few finishing touches to complete your deck railing installation.
First, ensuring your residential cable railing is safe and code-compliant, meeting all International Residential Code (IRC) and local code requirements is non-negotiable. Next, weāll cover how to inspect and test your railing before passing along our top long-term maintenance tips to keep your cable railing in tip-top shape.
Inspecting and Testing the Railing
Once youāve finished your deck railing installation, youāll want to inspect it for more than just its aesthetics. Conducting a close visual inspection of your hardware is critical for your safety.
We recommend doing the following during your final inspection:
- Run through the installation instructions for your cable railing system to verify you didnāt skip any steps in the process.
- Ensure that your cable railing system is stable.
- Double-check for loose hardware.
- Ensure your cables are fully tensioned and that you canāt spread more than 4ā of space between them.
Maintenance Tips for Longevity
For the best care and maintenance of your cable railing system, be sure to:
- Inspect your cable railing system for any sign of rust or corrosion at least twice per year.
- Check your cable tensioning at least once a year to determine if youāll need to re-tension your cables.
- As for cleaning your railing, youāll need to remove any dirt before cleaning it with warm water and a non-abrasive dishwashing liquid.
- Treat your hardware with a rust and corrosion protector for longevity.

Get Started with Cable Bullet Today!
Planning and installing a cable railing system on your own may feel a bit daunting. But who says you have to shoulder every step alone? Even a DIY deck railing installation project needs all hands on deck!
Contact our team at Cable Bullet, and let our team hammer out a plan for your deck railing project. Get a free estimate here, complete with a project layout and list of materials, saving you time and money from the start!